Most commented posts
- Resistor Decade Box — 15 comments
- Desoldering Station — 12 comments
- 3D Printer UV Curing Device — 6 comments
- ESR-Meter – Update — 4 comments
- Dust extraction – Part 4: Solid State Relay — 4 comments
Oct 29 2018
For a project I need to program a few microcontrollers in the same circuit. This meant I needed to plug the programmer around on the board a lot. This got annoying very fast. Therefore I decided to make a switch box. In my junk pile I found an old switch of a, parallel port switch. This has 4 positions and a lot of contacts. For the ICSP I only need 3. However in some circuits the supply voltage is not common. Hence, I chose to also switch the power supply connections. For the connections to the circuit boards I used DIN connectors, for the simple reason I have lots of these.
Inside the box:
Enclosure finished:


Dec 23 2018
Today there was a Radio flea market in Bladel.
What I bought:

Feb 10 2019
Today there was a Radio flea market in Turnhout. What I bought:

Mar 14 2019
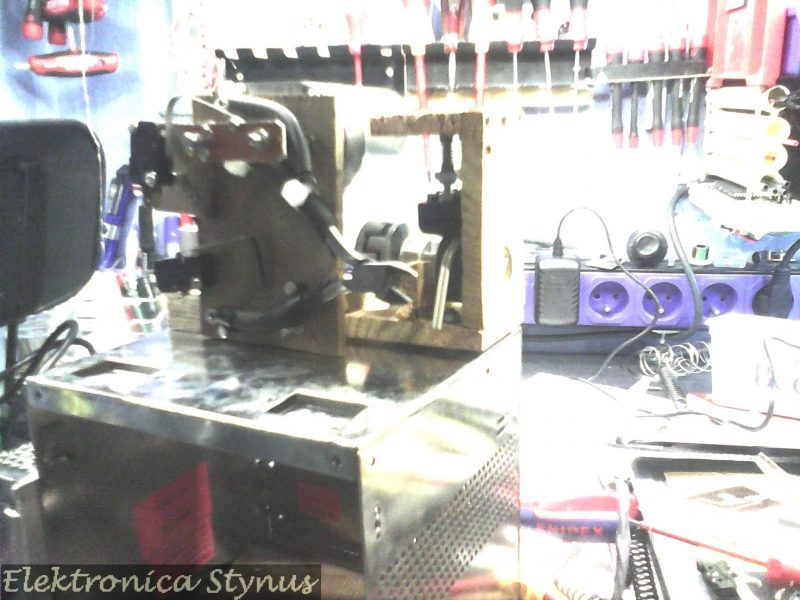
I needed to cut a lot of wire to specific lengths. At first I did this manually with a different colour wire as a reference, but after a few wires it gets annoying/boring quite fast. So, time to automatise it. Off-course there are machine’s that can be bought to do this, but they are rather expensive, therefore I decided to try and make one myself.
The first version I build did not work very good unfortunately. It was made on top of an old power supply enclosure and made with thin wood. This made it all a bit too flimsy.
For a test version I made a video:
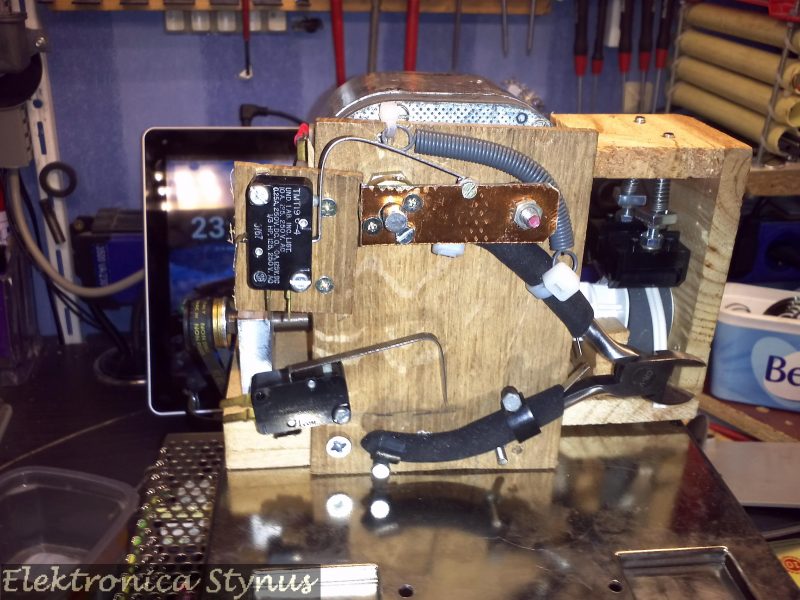
After this attempt I bought a 3D printer (not specificity for this project), and made a second version with 3d printed parts mounted on a thick base plate.
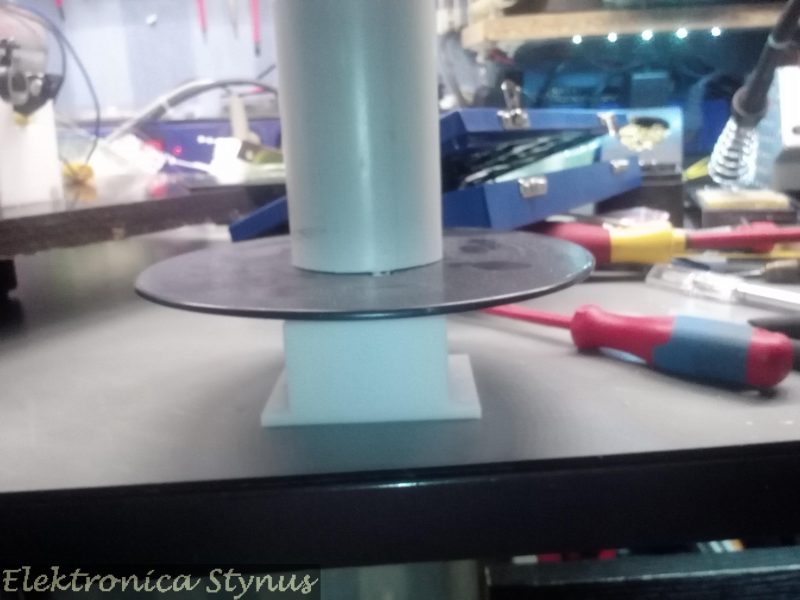
To measure the cable length and feed the wire at the same time I made an assembly based around a stepper motor. The wire is fed between 2 rubber rolls. One is scrapped from an old VHS recorder and the other one from an old HP printer.


After the rollers the wire is fed trough a tube to the cutter., this way the wire is fed correctly trough every time.
To cut the wire I used a cheap side cutter and a geared DC motor to operate it.
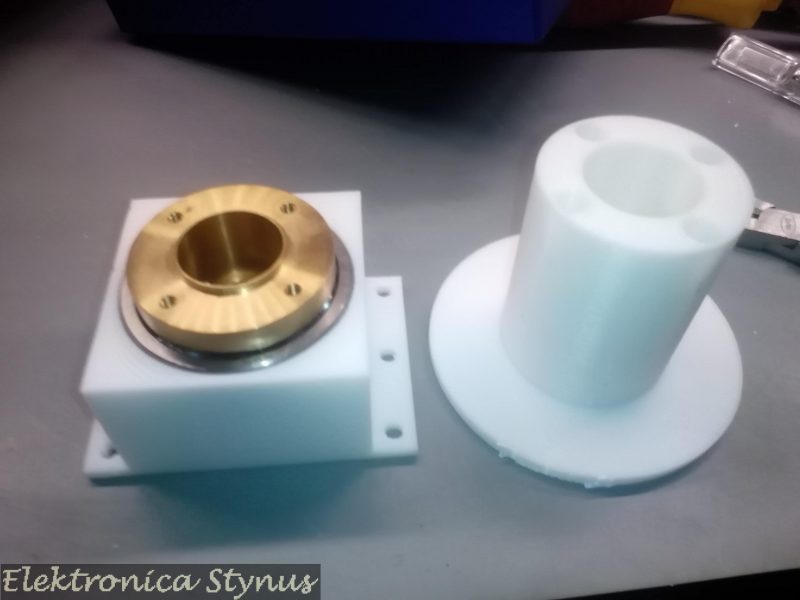
With the old version the wire spool was just laying on the floor. This made the wire twisted when it got to the rollers. I bought a big bearing at a radio flea market in Eksel, this bearing I used to make a spool holder.


To driver everything I made a microcontroller board that contains a H bridge to drive DC motors, also it contains a stepstick stepper motor driver. For putting in the parameters I reused the front panel from my PC clock project since this was no longer in use.
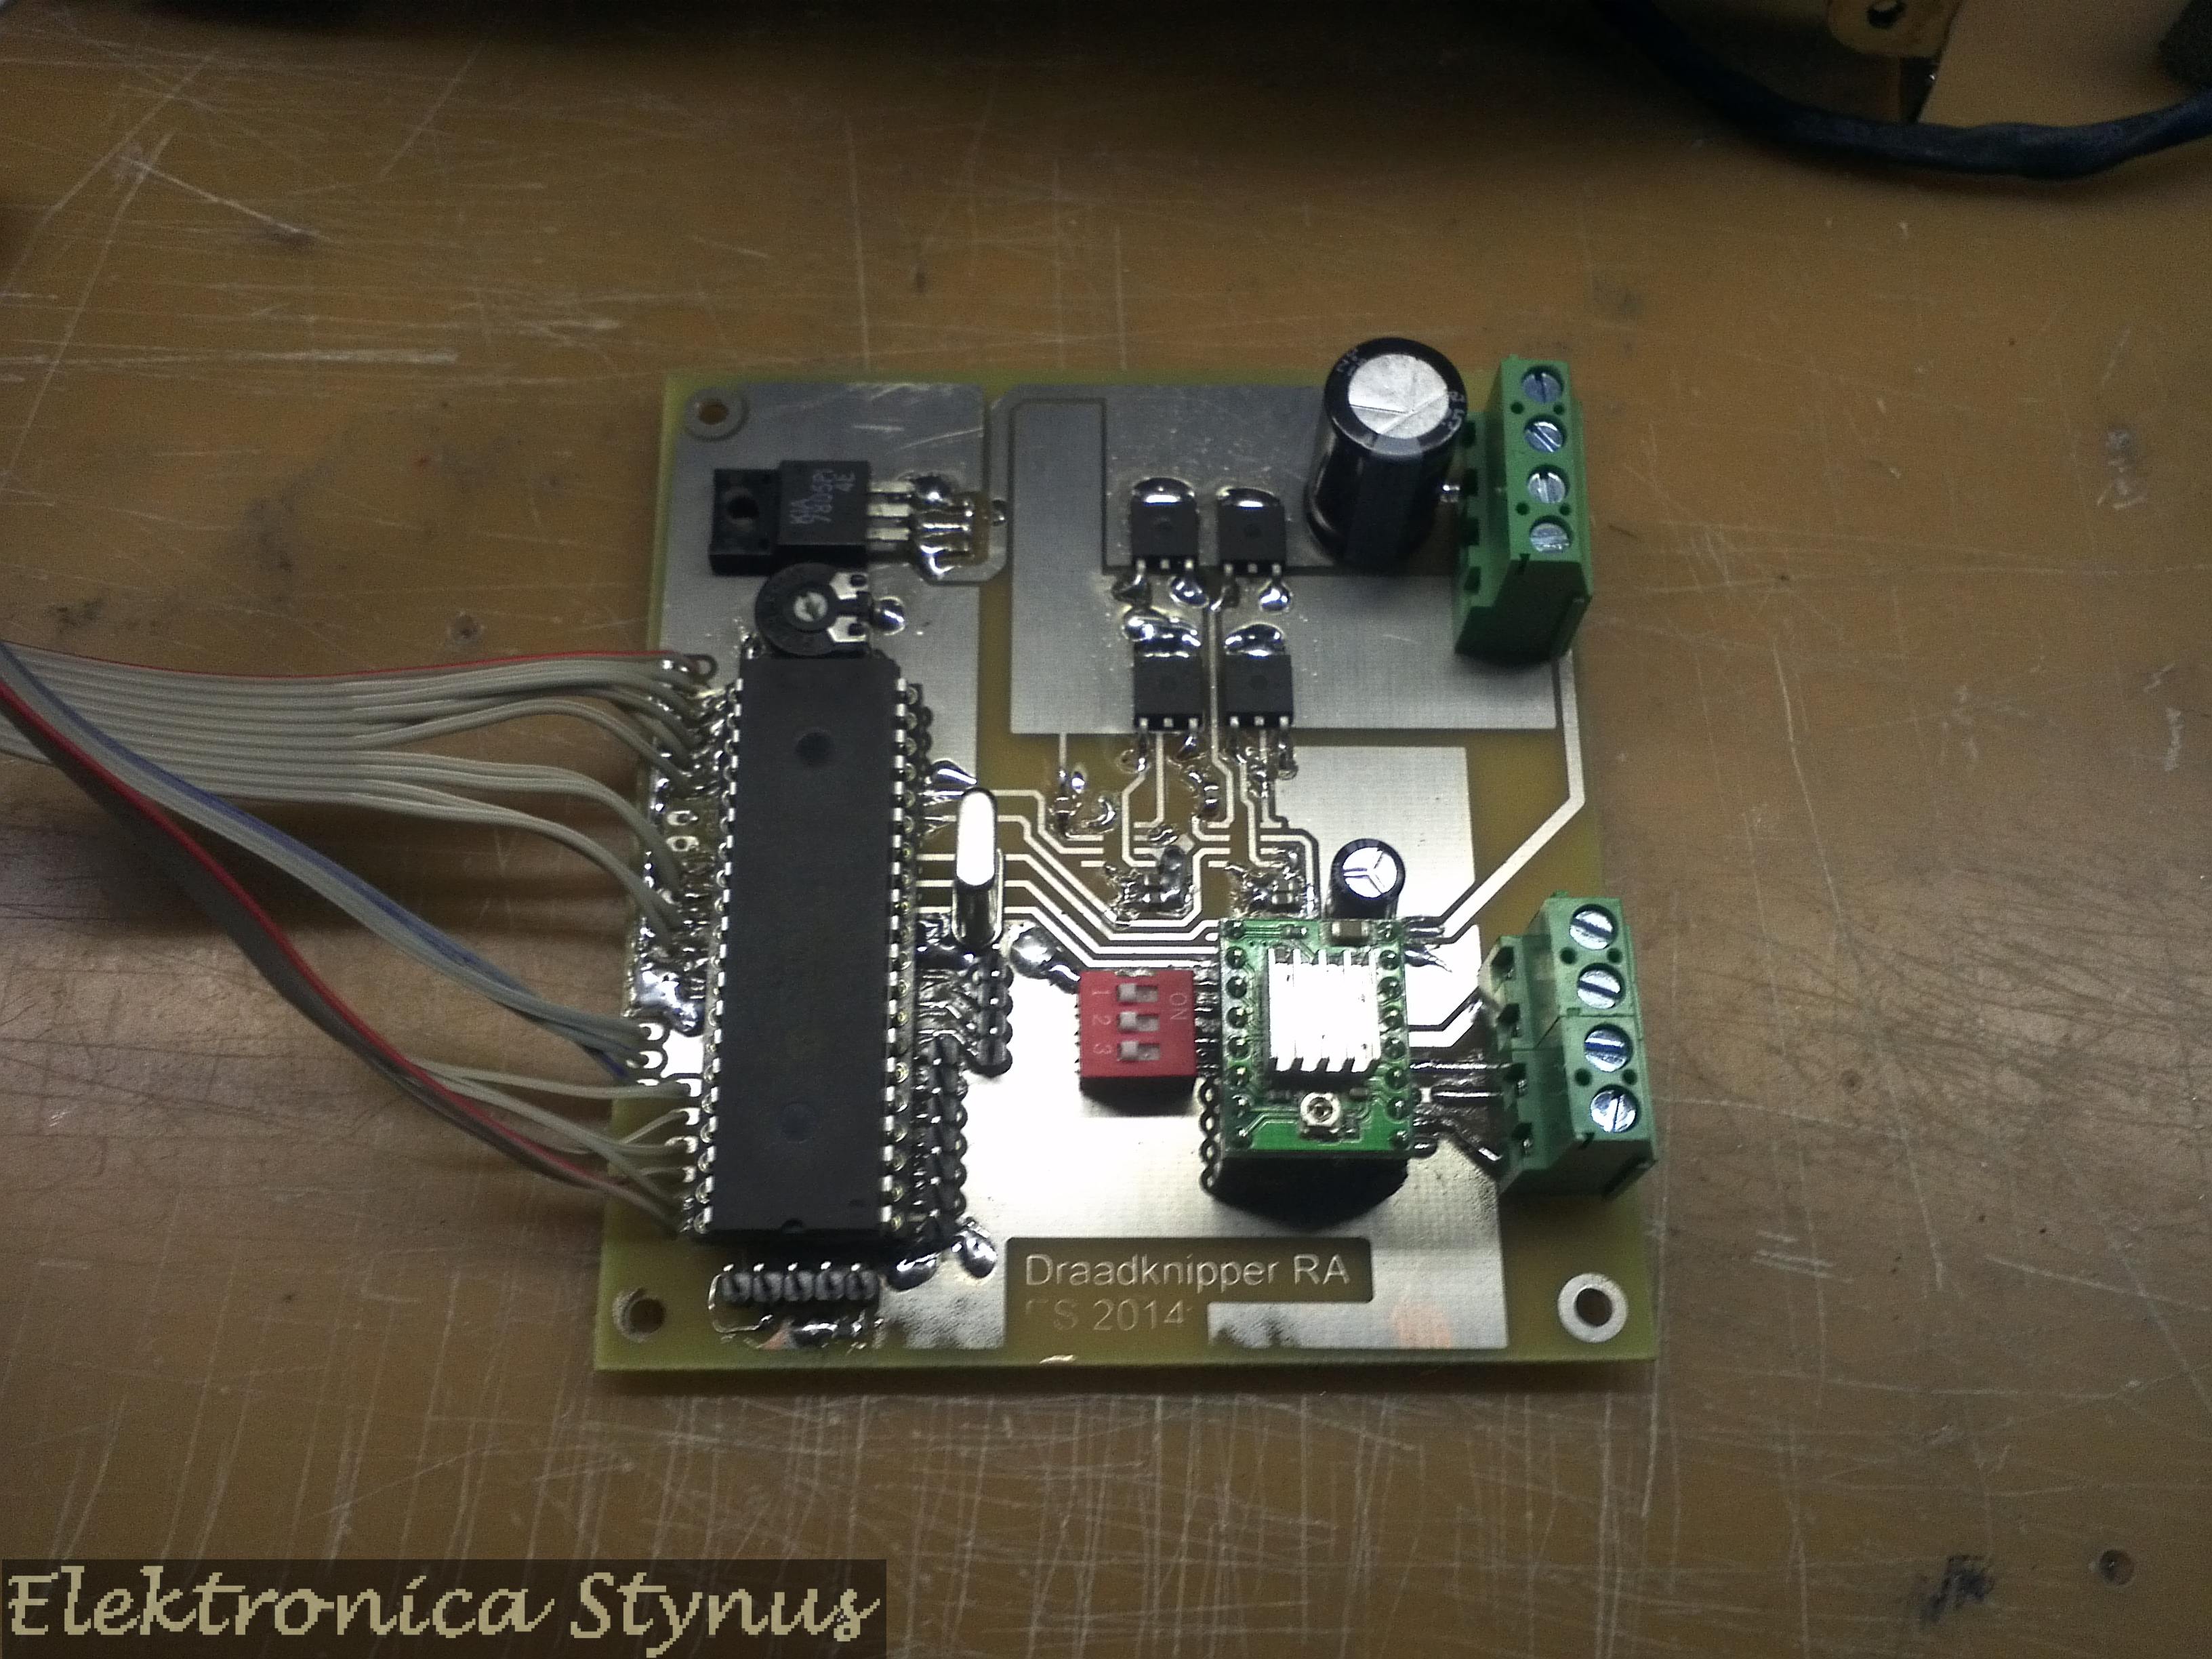

When I wrote the firmware it turned out that it was not very convenient to set the wire lengths etc with the 5 buttons. Therefore I replaced them with a keypad.

The bipolar stepper motor used above was not strong enough to move the wire reliable. I therefore replaced it by another one I had laying around, this one was a unipolar model. This meant that I could no longer use the stepstick, so I replaced it by a unipolar stepper driver I made before.
I also made an attempt to make a automatic spool winder, to putt the wire in a nice bundle again. However this did not work as expected, and after a few attempts I decided to cancel this part.


The final result can be seen here:
In the last couple of years this project has cut a few kilometres of wire for me.
The circuit diagram I can not share because of the undocumented changes. The code can be found here.
Apr 14 2019
I have a Steinel Gluematic 3002 hot glue gun. This glue-gun itself I’m fairly happy about, but the mains cable is much too stiff. This causes it to tip over from the force of the wire.
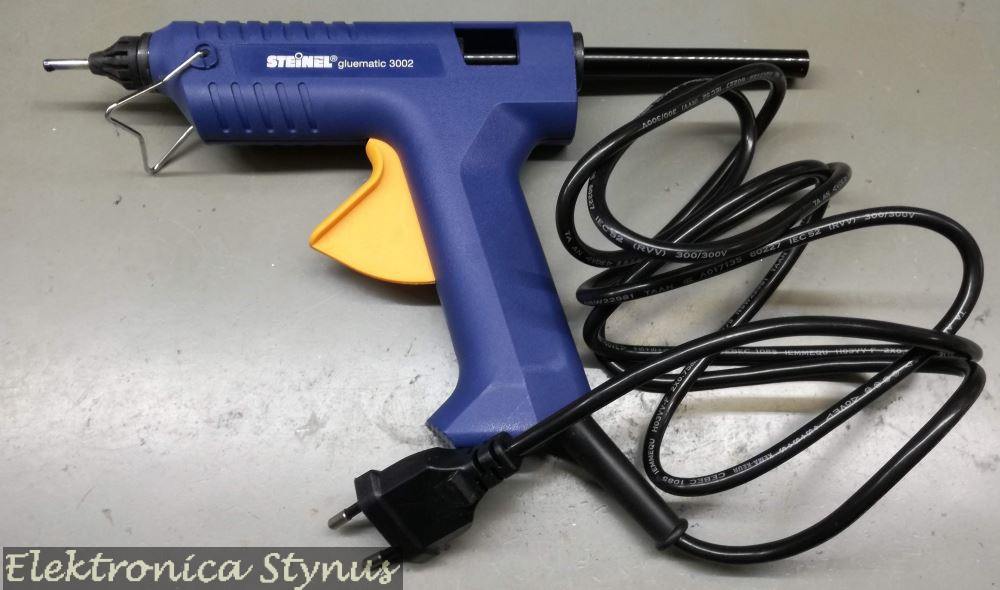
Therefore I decided to replace the cable with something more flexible. I came across some silicone rubber wiring. This is very flexible, but also is heat resistant. This means it will not get damaged if I accidentally touch it with the hot nozzle.

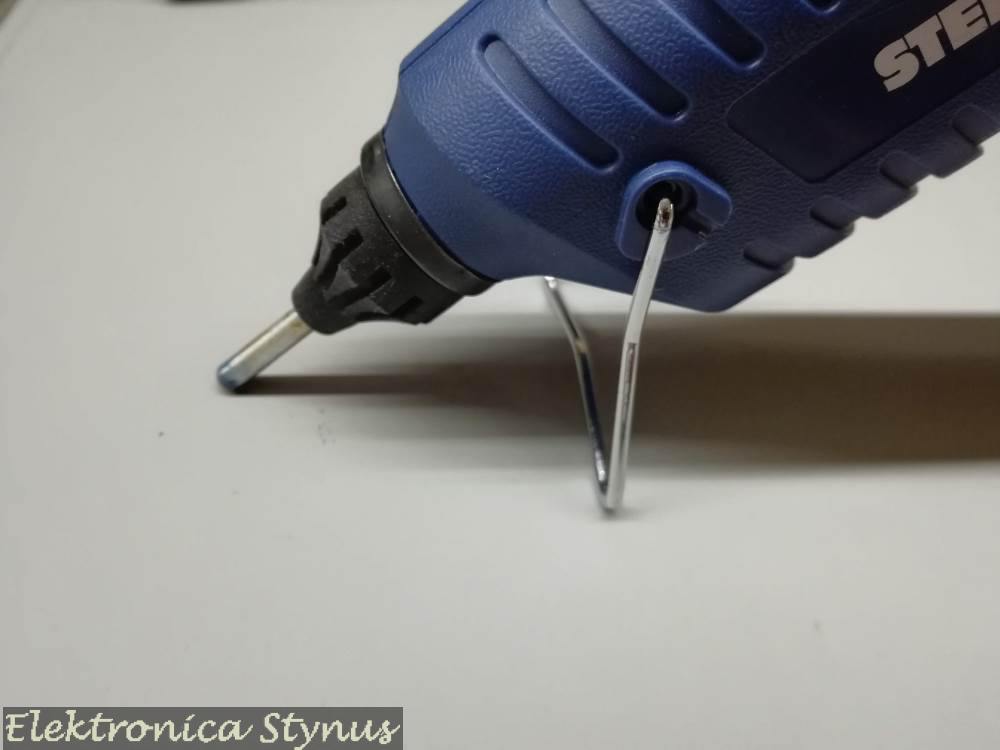
After opening the glue gun it turned out to be very easy to replace the cable. The strain relieve was not molded to the cable and the wires to the heating element where just crimped to the other wire.

Replaced:


This modification makes it much easier to work with.
Apr 22 2019
Today there was a Radio flea market in Diest.
What I bought:

May 18 2019
In my workshop I have a lot of machines producing dust / chips. In order to not make the complete house / workshop dirty I connect a vacuum cleaner with cyclone to the machines. The downside of this is that every time I switch machine I also need to disconnect the dust collection hose and connect it to the different machine. To solve this inconvenience I decided to make a central dust extractor with fixed tube to all machines. Each machine will get a valve that can be opened or closed to get the suction to a machine.
For the valves I did some research , and I found that a lot of people use sliding gates for their dust valves. For example:

(Source: Reddevil on Schematheek.net)
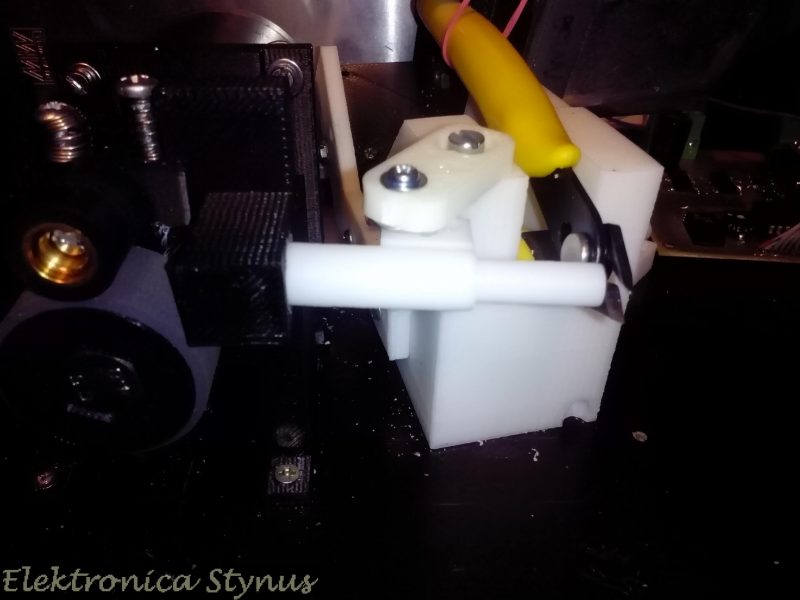
I did not like the fact that these take up too much space. So I opted for a design that looks more like a ball valve. However a bit different, so I could 3D print it. I found some central door lock actuators for cars on my desk and thought of a concept to operate the valves with these.
A first test:
This was made for a 40mm pipe, the dimensions of the moving parts where not very good yet and it got stuck sometimes. After this test I decided to use 50mm pipe for the dust collection, the linkages etc I reused from the 40mm and it turned out to work very good. The only downside is that the valves only open to ±70%,. But for the small chips / dust that goes trough I do not expect any problems.
Valves assembly:


The next part of this project will be a current sensor unit.
Jun 10 2019
In this part of the dust extraction build I will show the current sensor. This sensor measures the current that the tool draws and gives a signal to a central unit once it is higher than a set value. In order to leave the vacuum cleaner on during the machine spinning down a settable timer is added. Also I added a start stop circuit, witch can be used to manually start/stop the valve and vacuum. This can be handy to clean the work table. These buttons are not placed on all sensor units.

This unit consists of 2 parts.
Part 1: the current sensor:
A current transformer (ASM-010) is placed around the live wire.

The output of this transformer is send trough a 50R resistance. This converts the output current of the clamp to a voltage. This voltage is then amplified and compared against a level set by the potmeter. After this a 555 timer is added to keep the suction active while the machines motor spins down.

Part 2: on / off buttons:
This part works with a set reset flipflop. This has 2 buttons connected to manually start / stop the dust extractor.

Total:
The output of the 2 parts are coupled together with 2 diodes to a transistor that pulls the interface line to the controller low when it wants to turn on the dust extractor.

The PCB I designed for this project:

In order to keep the potmeters in place I added a small 3d printed bracket.

Build in the enclosure:


Links to previous parts of this build:
Dust extraction – Part 1: Valves
The next part of this project will be the central unit.
Aug 12 2019
I bought a longer nozzle for the glue-gun in order to reach further in difficult places. This works great, but the downside is that now the stand is not high enough any more and the nozzle touches the table.
While searching for something on thingeverse I came across this project: https://www.thingiverse.com/thing:2739665 This seems like the perfect solution. 1 hour of printing later I had the piece:

Mounted on the glue gun:

Sep 03 2019
In this part of the dust extraction build I will show the central unit. This unit receives the signals from the current sensor boxes and uses this information to switch the valves and the vacuum cleaner.
Some time ago I designed a board with a pic processor that has robust in and outputs. These have protections similar to a PLC has.

To drive the valves a lot of current is required, more than this board can drive, also more outputs are needed. Therefore I bought a 16 channel relay board.

This relay board needs 16 signals to drive the relays, unfortunately the board I use only has 8 outputs, of which 1 is already taken by the vacuum cleaner. Therefore I designed a board around 2x 74HCT595 IC’s to drive the relay board. To make the board also useful for other applications I added ULN2803 drivers to each output, however they are not used in this project.

There are optocouplers on the relay board in the drive path of the relays. They invert the signals. I do not want this, so I removed these and replaced them with 0 Ohm resistors.

The inputs I have on the controller board are made for PNP sensors, however the sensors have a NPN on the output. This I fixed by putting pullup resistors on the inputs. However this makes the signals come in the microcontroller inverted, but this is easy fixed in the firmware.

All boards mounted / wired to contact strips:

Next to the dust extraction controller I also build the power supply + power distribution strips for the LED strips. To provide music in the workshop I also fitted an audio amplifier in this enclosure.


Links to previous parts of this build:
Dust extraction – Part 1: Valves
Dust extraction – Part 2: Current sensor
The next part of this project will be the solid state relay.