Today I went to the radio market in Diest.
What I bought:
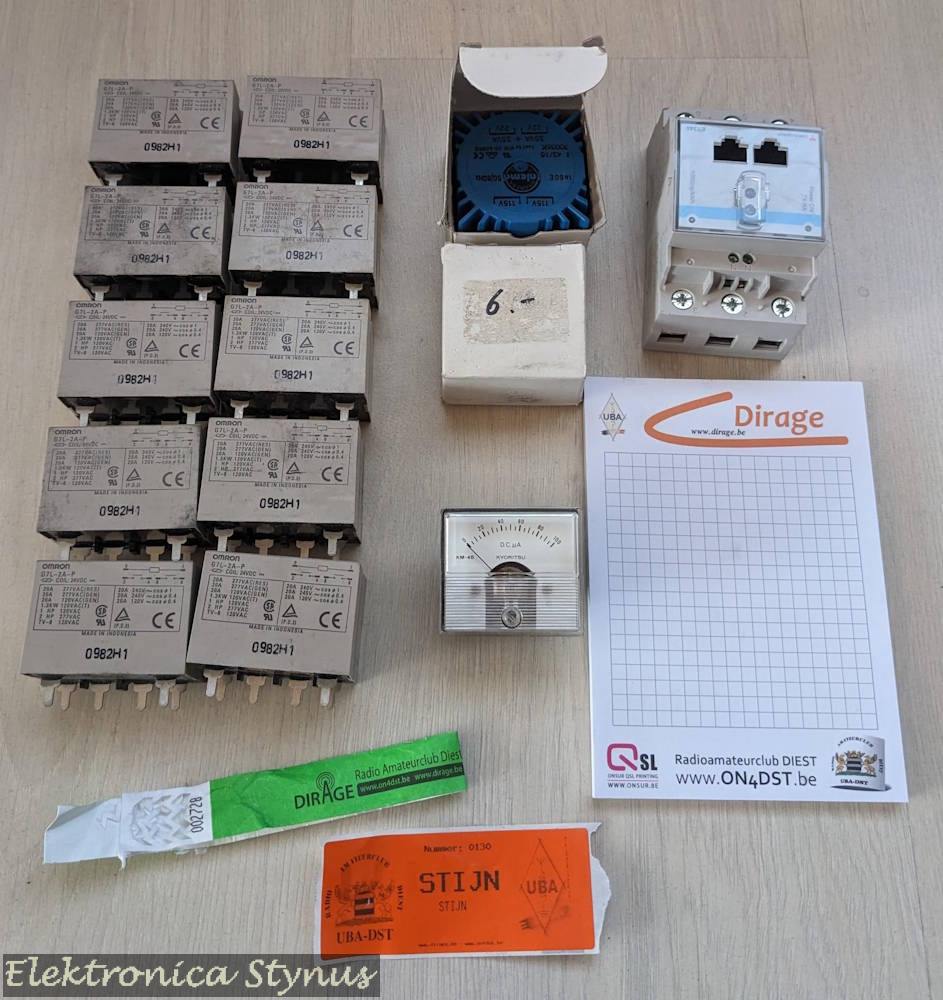
- 10x Relays
- 2x PCB transformer
- 1x 100µA meter
- 1x Victron Energy meter
Apr 06 2026
Today I went to the radio market in Diest.
What I bought:
Dec 21 2025
Today I went to the radio flea market in Bladel. Just like last year, I found some good stuff. Only this time, the location wasn’t the best. Parking was difficult. The radio market was divided into lots of small rooms. I’m not sure if I saw everything.
My purchases:


Jun 15 2025
Today I went to the radio market in Helchteren.
What I bought:

Apr 13 2025
Today I went to the radio market in Diest.
What I bought:


Jul 07 2024
After 5 years I went to the radio flea market in Bladel again. The market is now outside, luckily the weather was good. It felt like a radio market like they were a few years ago again, lots of stuff at reasonable/low prices.
What I bought:

Jun 16 2024
Today I went to the radio market in Helchteren.
What I bought:

Apr 01 2024
Today I went to the radio market in Diest.
What I bought:
240GB SSD
2 tubes of SMD connectors
1 tube relay
2 tubes of potentiometers

Dec 16 2023
For some time I had project boxes and storage boxes loose on the floor. Therefore I decided to build 2 cabinets to solve this problem.
First for the sorter boxes I build a cabinet with drawers on the bottom and on top shelves for the boxes. In the big space I put some old drawers.


For my project boxes I made a cart that sits next to my desk. In this I have 5 project boxes. (I will now try to finish my running projects and then limit to 5 projects at the time.) Next to the project boxes is space for SMD storage containers, These are placed on an angle because the cart would otherwise become too wide. On top there is space for 12 storage boxes for frequently used components and parts (Heatshrink, AMP connectors, ferrules, etc.).


Nov 04 2023
The switch that I use to switch off my hobby desk broke again for the second time. The contacts where welded shut. After replacing it again it was time to fix the cause of the issue. To limit the current I used an altered schematic from CircuitsOnline.

After my incident on my safety transformer project where the resistors burned I did not fully trust this circuit. Therefore I have added a thermal protection that switches the output power off when the resistors get too hot.
I build the circuit in a remote controlled socket enclosure. To mount the parts I used some glue and tyraps.


Mar 19 2023
After 3 years of not being able to go, or no flea markets happening, I went to a radio market again.
What I bought:
